A hydraulic unit that has always “made a bit of noise” often gets ignored until someone has to raise their voice beside it, a guard starts buzzing, or an operator mentions they're avoiding that side of the machine. By that stage, the noise isn't just an irritation. It's usually telling you something about pressure ripple, vibration transmission, leakage from an enclosure, wear, or a poor installation detail that's been accepted for too long.
The most effective noise reduction techniques in hydraulics start at the source. That means looking at the pump, motor, valve behaviour, mounting, pipework and enclosure leakage before spending money on blankets, foam or hearing protection. In plant maintenance, that order matters. If you quieten the symptom but leave the cause, the machine often stays inefficient, awkward to service and harder to trust.
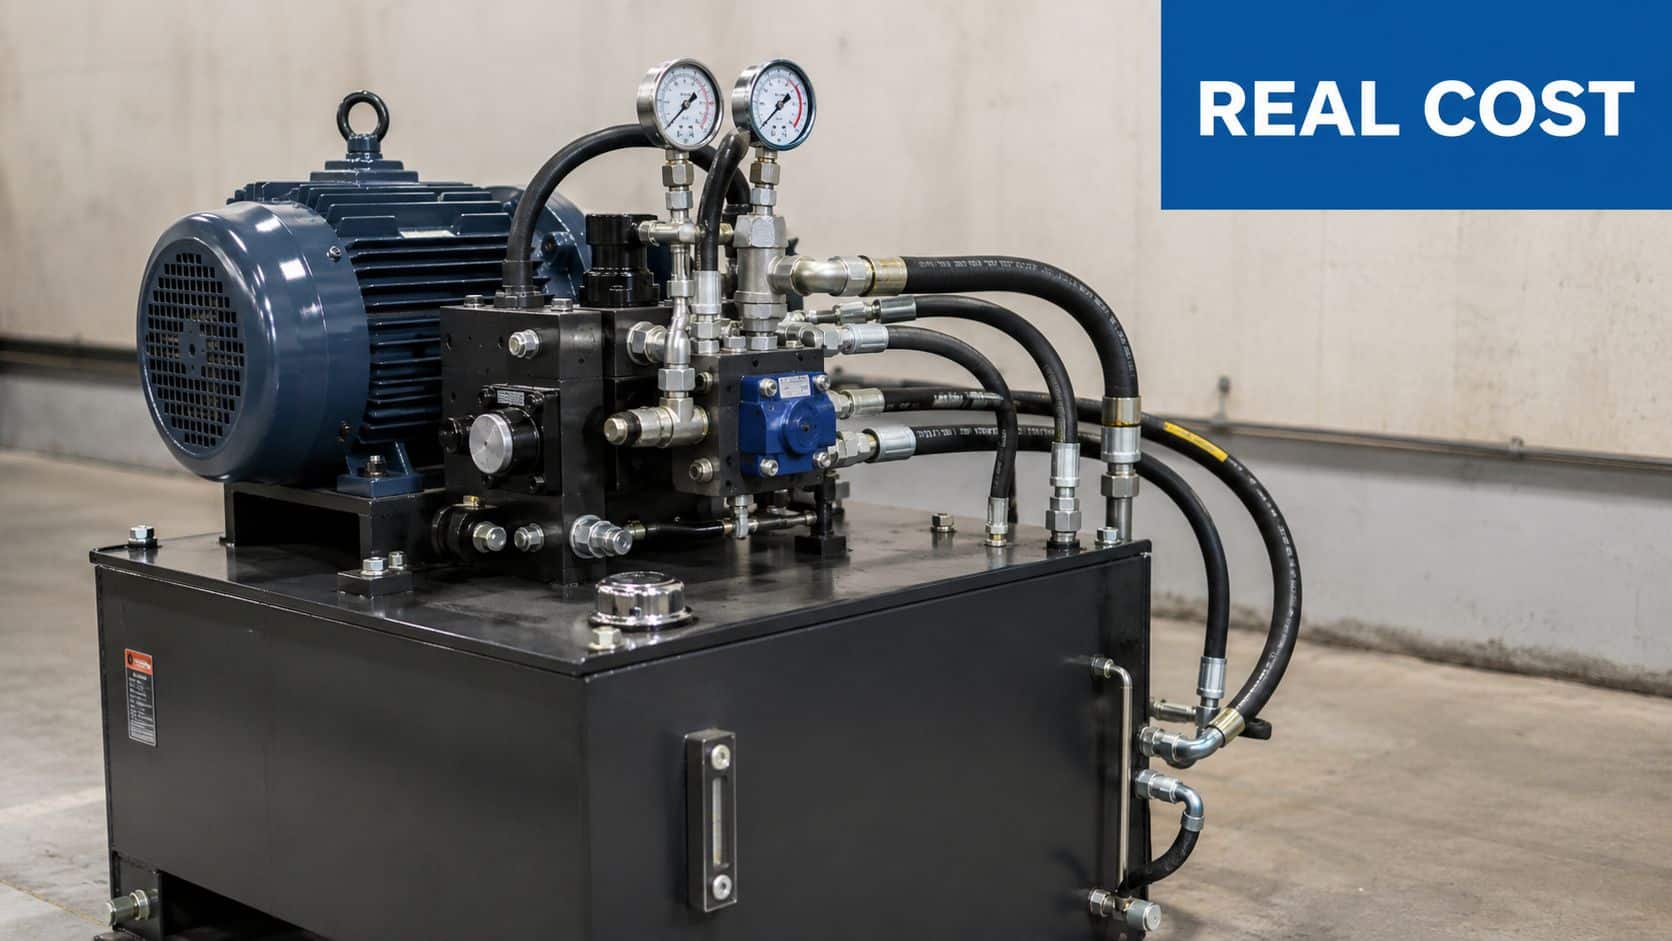
The Real Cost of a Noisy Hydraulic System
A machine that forces operators to shout across the aisle is already costing money. By the time a power pack develops a constant whine or the tank panels start drumming, the issue has usually spread beyond noise. Maintenance time goes up, confidence in the machine drops, and small faults start getting treated as normal plant behaviour.
In practice, the cost shows up in places that rarely sit under one budget line. Fitters get pulled back for repeat tightening of guards and brackets. Pipe clamps work loose. Seals and fittings see more movement than they should. Operators avoid running certain cycles unless they have to. Production loses time while everyone argues over whether the sound has changed or whether it has "always done that".
UK employers also have legal duties once noise exposure reaches the relevant action levels under the Control of Noise at Work Regulations 2005. That matters, but from an engineering standpoint the bigger point is simpler. A noisy hydraulic system often signals energy being turned into vibration, heat and stress instead of useful work.
Noise usually points to a physical fault path
In hydraulic plant, noise rarely sits in isolation for long. It tends to track back to a source and a transmission path. Common examples include:
- Pump pressure ripple exciting pipework, manifolds or tank panels
- Motor and bellhousing vibration passing straight into the frame because mounting stiffness or alignment is poor
- Valve events and flow instability creating chatter, knocking or sharp tonal changes under certain duty conditions
- Aeration, cavitation or suction restriction changing the sound as oil condition, temperature or demand shifts
- Wear, looseness or poor fabrication details letting covers, guards and brackets resonate
That is why source-first engineering usually gives a better return than lining everything with acoustic foam. If the pump outlet ripple is too high, or a bracket is acting like a tuning fork, blocking the airborne sound only hides the fault for a while. The machine still shakes, components still fatigue, and the next service visit is no easier.
I have seen sites spend good money on enclosure treatment, then find the dominant problem was a rigid pipe run hard-coupled into the skid. A few changes to support spacing, clamp condition and mounting detail would have done more than the acoustic lining, at a fraction of the cost.
Quieter systems are usually cheaper systems to run
A reduction in noise often comes with side benefits that matter more day to day. Less vibration means fewer nuisance leaks and fewer cracked fabrications. Stable suction conditions help pumps live longer. Better mounting and pipe support make the plant easier to maintain because components stay where they were meant to stay.
For OEMs and MRO teams, component-level attention matters. Instead of treating noise as an enclosure problem, check whether the pump type suits the duty, whether the motor-pump interface is transmitting vibration, and whether the pipework layout is amplifying what should have remained a minor pressure fluctuation. That approach is closer to how MA Hydraulics handles problem systems in the field. Fix the source, control the path, then decide what acoustic treatment is still worth buying.
If a site wants evidence before spending, start with acoustic monitoring for hydraulic equipment and tie the readings back to operating states, pressure changes and known maintenance history. That gives maintenance managers something more useful than "it sounds loud today".
There is still a place for guards, covers and acoustic treatment. On new builds, teams can even use industrial 3D printing solutions to prototype enclosure panels, airflow-managed covers and bracket revisions before committing to tooling. But those measures work best after the hydraulic and mechanical causes have been brought under control.
Diagnosing and Measuring Hydraulic Noise
A maintenance team hears the complaint first at the operator station, but the source is often somewhere else entirely. A power pack can sound guilty because the frame, guard or pipework is broadcasting the vibration better than the actual fault point. Good diagnosis separates what is making the noise from what is radiating it.
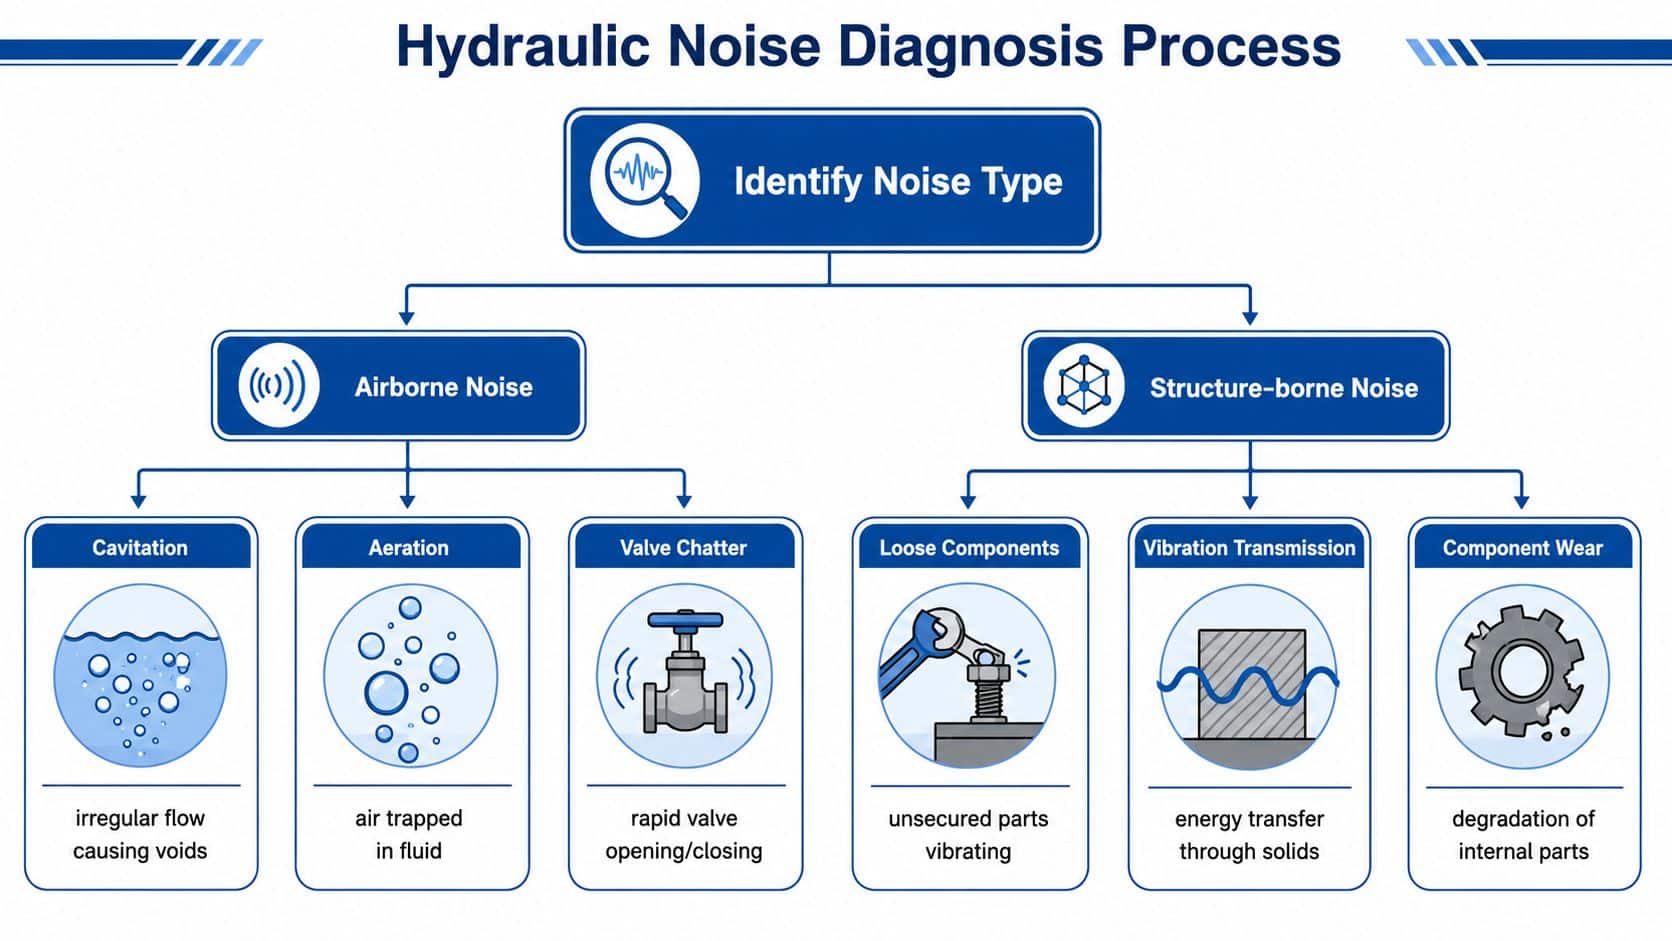
Start by classifying the path. In hydraulic plant, noise usually reaches people through three routes. Airborne sound comes straight off the machine. Structure-borne vibration travels through frames, tanks, guards and brackets. Fluid-borne excitation starts as pressure ripple or pulsation in the oil, then shakes pipework, manifolds or panels until it becomes audible. If those routes are mixed together, teams spend money in the wrong place.
Start with the sound character
Listen to the machine under its real duty cycle, not just at idle in a quiet bay. Noise that appears only during a pressure step, rapid valve change or end-of-stroke event points to a different problem from a steady whine during warm running.
A quick first assessment should answer four practical questions:
- Is the sound steady, cyclic or event-driven? A constant tonal whine suggests a different cause from chatter, hammering or short bursts.
- What changes it most: pressure, speed, temperature or load? That narrows the search quickly.
- Which parts feel active by hand, safely checked? A lively guard, tank top or pipe clamp often means the structure is carrying more energy than the ear suggests.
- Does opening or closing a panel change the perceived noise sharply? If it does, sound radiation or leakage is part of the problem, even if the root cause sits deeper in the hydraulic circuit.
The three pathways that matter
Airborne noise
This is the part everyone notices first. It may come from the pump casing, motor fan, valve block, return line turbulence, aeration, cavitation-like conditions, or a thin panel acting as a sounding board. It is easy to hear and easy to misread.
Structure-borne noise
Installation nuances often determine the success or failure of many hydraulic noise jobs. A pump that sounds acceptable on a test bench can become a nuisance once it is bolted to a tank top or light fabrication with a natural frequency in the wrong range. One poor mounting point or one stiff pipe run can feed vibration into half the machine.
Fluid-borne excitation
Pressure ripple is often the hidden driver. The oil carries pulsation away from the pump or valve event, then pipework, manifolds and clamps turn that energy into vibration and audible noise somewhere else. OEM and MRO teams miss this when they focus only on the loudest panel in the bay.
The loudest part of the machine is not always the part that needs replacing.
Measure where the noise matters
Use readings that reflect exposure and machine condition, not guesswork beside the power unit. As noted earlier, workplace noise limits matter, so measurements at the operator position are usually more useful than readings taken with the meter hard against the pump or guard.
A basic sound level meter can be enough for first-line fault finding if the method stays consistent. In practice, that means:
- Use the same operating condition each time, so readings are comparable
- Measure at the operator position and near key components, so you can compare what people hear with what the machine radiates
- Record the duty state, such as idle, normal production and highest regular load
- Note surrounding conditions, including guard position, nearby plant, oil temperature and any recent maintenance changes
- Take before-and-after readings after one change at a time, so the result can be trusted
Numbers alone are not enough. Pair the readings with observations about tone, timing and vibration felt through the structure. A short log built around operating state, pressure condition and maintenance history usually exposes patterns faster than one-off site notes. For plants that need a more disciplined baseline, acoustic monitoring for hydraulic equipment gives maintenance teams something more useful than a single decibel figure scribbled on a job sheet.
What usually wastes time
The expensive mistakes are predictable.
Teams swap the pump because it sounds harsh, then find the problem was a resonant tank top or a rigid pipe clamp feeding the frame. They line a guard with absorbent material, but leave large gaps that let the noise straight out. They tighten mountings harder and improve vibration transmission instead of controlling it. They take one reading on one shift and treat it as a diagnosis.
A better approach is slower for an hour and faster over the full job. Listen carefully. Check the operating state. Measure consistently. Touch the structure safely. Change one variable. Measure again. That is how root cause work gets done in hydraulic systems, and it is usually cheaper than starting with replacement parts.
Component-Level Noise Reduction Fixes
The quietest hydraulic systems don't happen by accident. They come from sensible component choice, good mounting practice and attention to how energy moves through the machine. UK guidance on industrial noise control emphasises controlling risk at the source through engineering controls and proper maintenance, rather than leaning too heavily on hearing protection, as noted in this UK industrial noise guidance reference.
That principle fits hydraulics perfectly. If the pump generates harsh pulsation, the valve switches aggressively, or the motor and bellhousing are feeding vibration straight into a thin frame, no amount of after-the-fact padding will make the machine perform as intended.
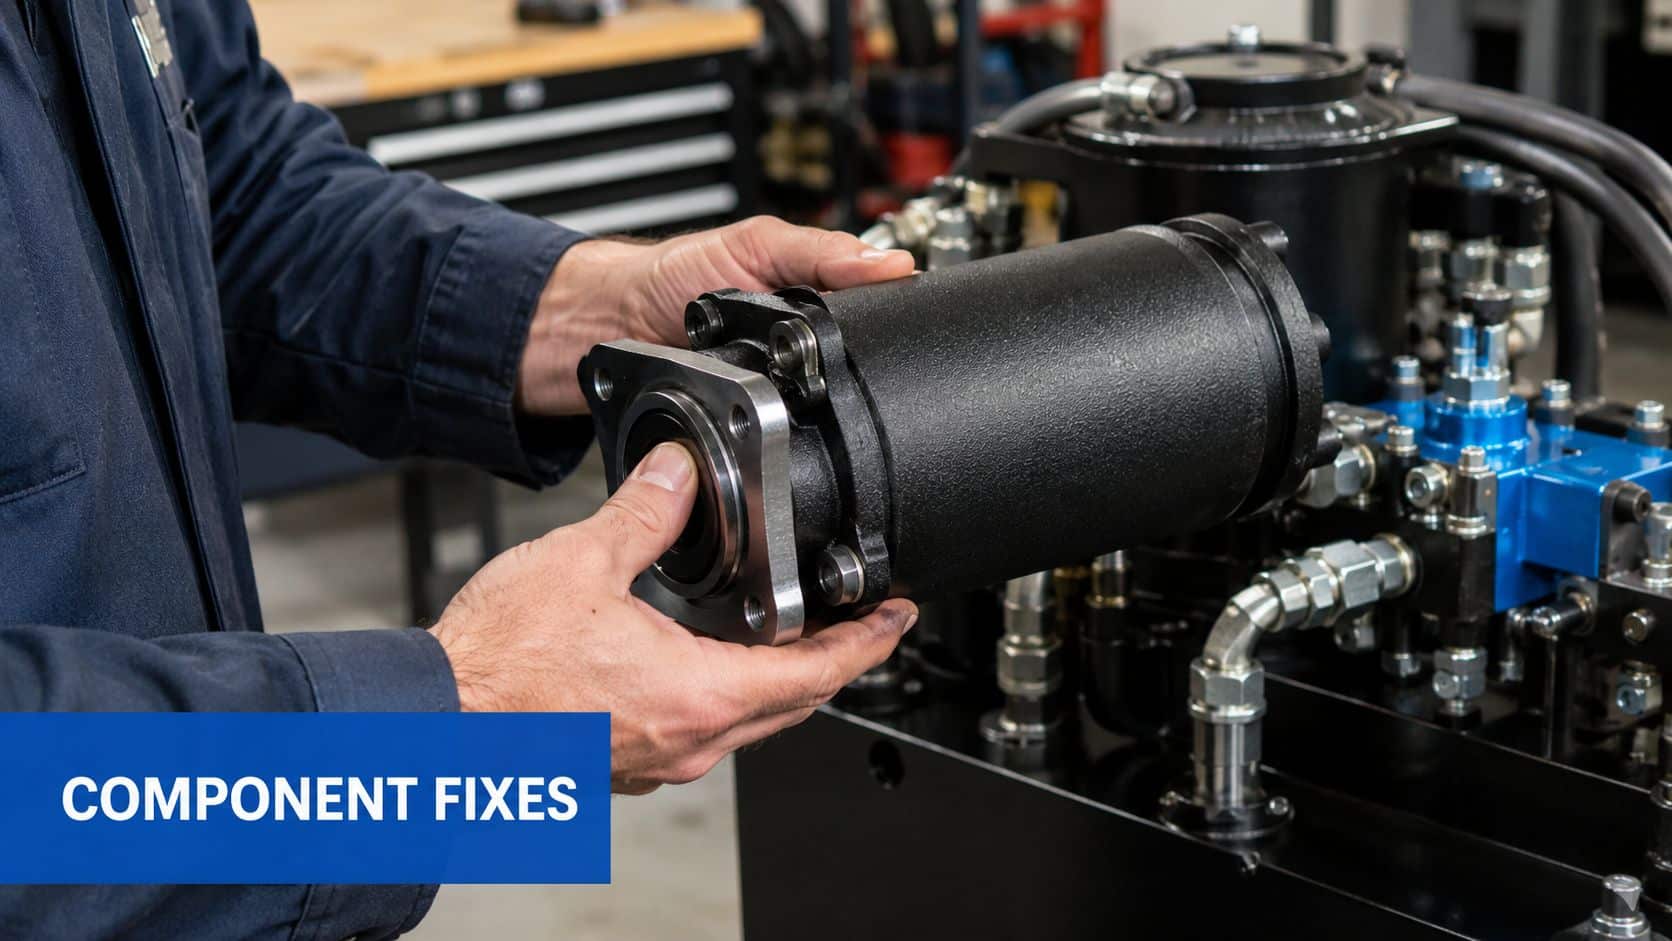
Pumps and motors
Pump noise is often treated as unavoidable. It isn't. Some of it is inherent to the operating principle, but a lot of what people call “pump noise” is really poor matching, poor suction conditions, poor mounting or wear.
Start with the basics:
- Match the pump to the duty. A unit that spends most of its life in an unfavourable operating range will often sound harsher than one selected for the actual load profile.
- Check suction conditions. If the inlet arrangement encourages restriction, entrained air or unstable flow, the sound often becomes rough, irregular or sharp.
- Inspect couplings and alignment. Misalignment can turn a decent package into a drumming, whining one.
- Look at the tank and mounting face. Thin tops and unsupported plates can broadcast pump vibration.
Motor-driven packs have the same issue. The electric motor, bellhousing and coupling don't just transmit torque. They can also form a clean path for vibration into the structure.
If you're reviewing replacements or redesigning a unit, a proper look at hydraulic pumps and motors is usually where the biggest source-side gains begin.
Valves and control behaviour
Valve noise isn't always about the valve body itself. It's often about what the valve is being asked to do.
A circuit that changes flow suddenly can create sharp pressure events, line excitation and audible chatter. That tends to show up when:
- the valve is oversized for the actual flow
- the spool behaviour is too abrupt for the load
- the mounting block is poorly supported
- the hose or pipe arrangement lets the pressure event ring through the structure
A practical fix is to make the control event calmer. That may mean reviewing valve type, actuation behaviour, mounting stiffness and line routing together rather than changing one cartridge and hoping for the best.
If the machine only becomes noisy during directional change or load handover, treat it as a control problem first and an acoustic problem second.
Pipework, clamps and hoses
Poor pipe installation creates excellent noise transmission paths. I've seen otherwise tidy power packs where the loudest part of the machine was a rigid line tied hard into a frame member that behaved like a tuning fork.
Look closely at:
Clamp spacing and position
A clamp in the wrong place can force vibration into a frame or support a pipe at the worst possible point. Moving or isolating a clamp can change the sound more than replacing a major component.
Hose routing
Flexible hose can help break a vibration path, but only if it has the right length, routing and support. A short, taut hose behaves more like a rigid link than an isolator.
Contact points
Pipework touching guards, side panels or tank edges will often create buzzes and rattles that mask the original source.
This short demonstration is useful if you're assessing practical hydraulic noise issues and maintenance behaviour on real equipment:
Maintenance faults that sound like design faults
Not every noisy machine needs redesign. Some need better maintenance discipline.
Check for:
- Loose fasteners on guards, mounts and motor feet
- Worn couplings that introduce backlash and vibration
- Bearing wear that changes the sound under load
- Contamination-related valve behaviour that appears as chatter
- Tank internals or brackets that have cracked and started resonating
A good maintenance engineer can often tell the difference between healthy hydraulic whine and developing trouble by how the sound changes across duty. The mistake is accepting all noise as “just hydraulics”. Healthy systems have a consistent acoustic signature. Faults usually add roughness, irregularity, resonance or impact.
System-Level Solutions for Noise Control
A hydraulic pack can be mechanically sound, fitted with a quieter pump and still fail the noise target because the structure around it is helping the sound travel. That is the point where system-level work earns its keep. The aim is not to hide a bad machine. It is to stop residual vibration, pulsation and airborne noise from being amplified by the installation.
For OEMs and maintenance teams, the practical question is simple. Which measures reduce noise without creating heat, access or reliability problems?
Isolation, damping and containment
These methods solve different problems, so they should not be treated as interchangeable.
| Technique | Typical Reduction | Estimated Cost (GBP) | Complexity |
|---|---|---|---|
| Isolation mounts under power units | Qualitative improvement depends on structure and duty | £ | Medium |
| Flexible hose sections to break vibration paths | Qualitative improvement depends on routing and support | £ | Low to Medium |
| Panel damping on guards or covers | Qualitative improvement where drumming panels dominate | £ | Low |
| Acoustic enclosure gap sealing | Around 3 dB from halving open area, or around 10 dB from reducing openings by 90%, based on this engineering guide to noise control techniques | ££ | Medium |
| Internal absorbent lining in enclosures | Qualitative improvement when paired with leakage control | ££ | Medium |
The cost scale is deliberately simple. Actual job cost depends on fabrication, shutdown time, cooling provisions and how much maintenance access you are prepared to sacrifice.
Isolation works on structure-borne vibration. Damping helps where covers and guards are acting like loudspeaker panels. Containment deals with airborne noise that escapes into the plant. Good results usually come from combining two of the three, not relying on one.
Enclosures only work when leakage is controlled
An enclosure with poor sealing often disappoints, even if it looks substantial. Openings around doors, cable entries, pipe penetrations and cooling cut-outs let noise out far more effectively than many teams expect.
A sensible enclosure upgrade usually follows this order:
- Identify leakage paths first. Check joints, access panels, fan openings and service penetrations before adding any lining.
- Seal the openings you can live with in service. Close-fitting panels, proper seals and tidy cable routing usually do more than extra acoustic foam.
- Add absorbent lining after the shell is under control. Lining reduces reverberant build-up inside the enclosure, but it cannot make up for large leaks.
- Preserve maintenance access. If an operator needs extra time and extra spanners to reach a filter or coupling, the panel will eventually be left off.
Heat matters here. A quiet enclosure that drives oil temperature up is a poor fix.
Avoid shifting the problem elsewhere
Soft mounts can reduce transmitted vibration, but they can also change alignment behaviour, hose loading and start-up movement. Extra acoustic mass on panels can stop drumming, yet it may overload hinges or make guards awkward to remove. Longer flexible connections may cut a vibration path while making hose restraint and wear harder to manage.
Those trade-offs are why source-first engineering still matters at system level. The best noise control work on hydraulic plant usually looks restrained. Better support, better sealing, better panel behaviour and better pulsation control, with no unnecessary complication.
Circuit behaviour often deserves another look here. Pressure ripple and transients can keep exciting the structure even after obvious mechanical fixes are done. In those cases, a review of hydraulic accumulator sizing for pulsation control and circuit stability can help teams judge whether the noise problem is really an enclosure problem, or a system energy problem showing up as noise.
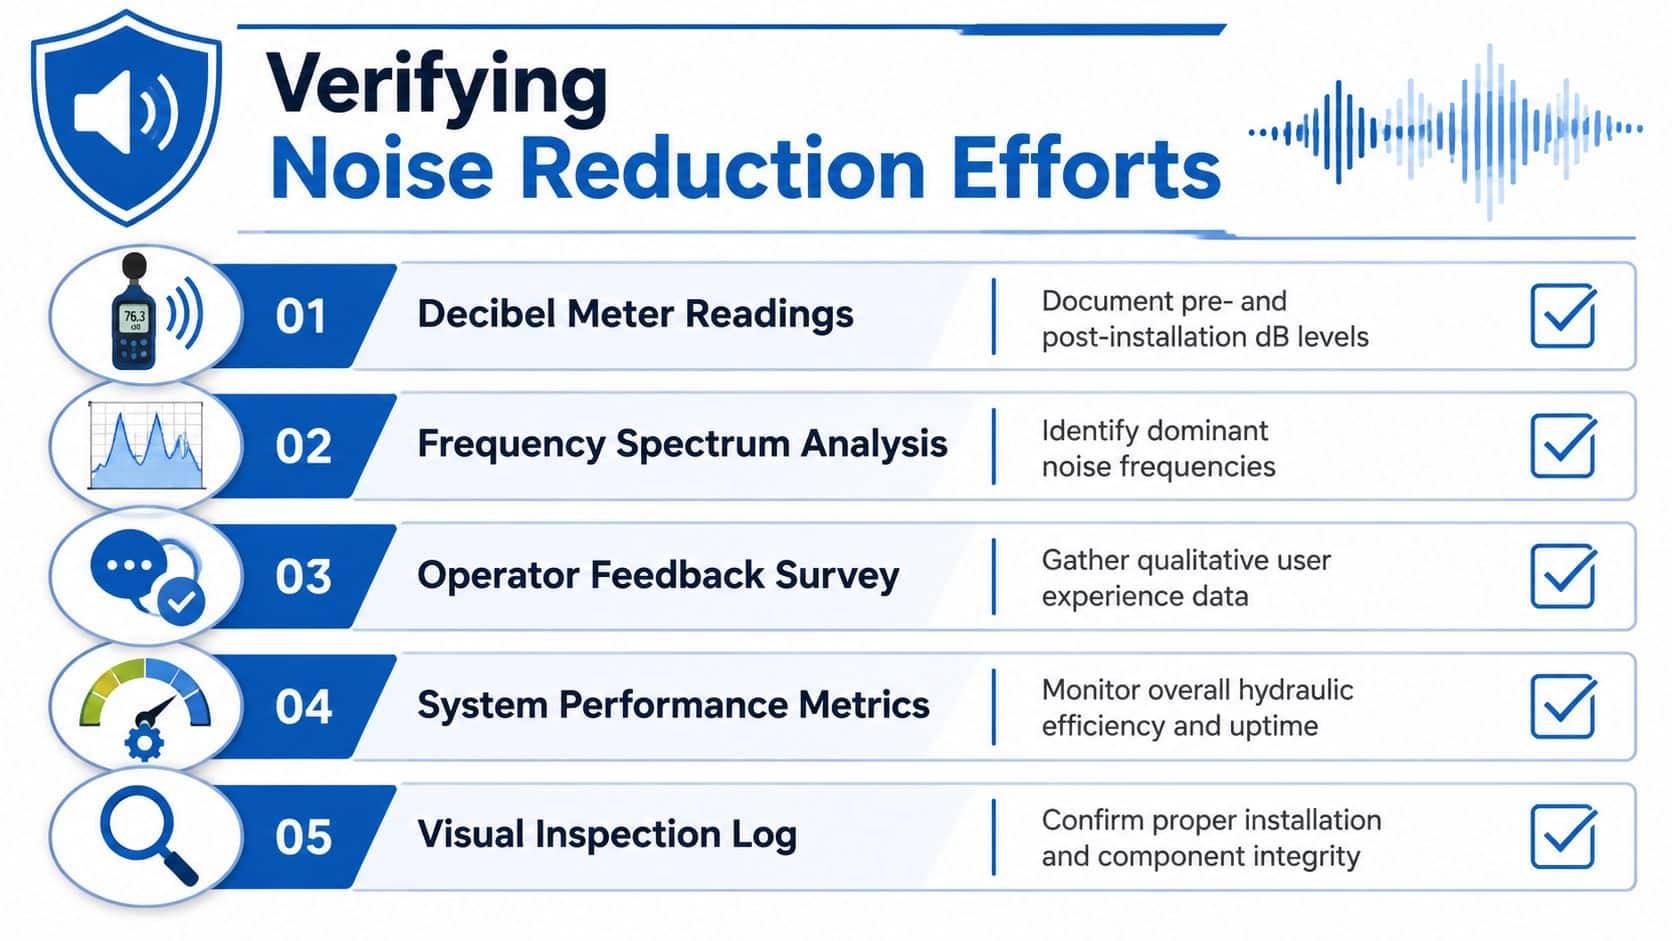
Verifying Your Noise Reduction Efforts
A noise reduction job isn't finished when the machine sounds better to one person. It's finished when you can show that the change is measurable, repeatable and acceptable in service.
The hard question is usually not “did we fit a quieter part?” It's “what changed at the operator position, under what load case, and what did it cost us in access, temperature or maintenance time?” That practical framing is central to real workplace verification, as discussed in this engineering perspective on measuring noise reduction in practice.
Re-test like for like
Verification falls apart when the “before” and “after” tests aren't comparable.
Use the same:
- Machine duty and load condition
- Operator measurement position
- Guard and enclosure state
- Nearby plant operating condition
- Meter method and record sheet
If the machine runs at several normal states, test those states. A pack that sounds improved at idle but becomes harsh under production load hasn't been solved. It's only been shifted.
Record more than the decibel figure
A dB(A) reading matters, but it's not the whole story. Good verification includes the machine condition and the practical consequences of the fix.
A useful record usually includes:
| Check | What to note |
|---|---|
| Sound level reading | Position, operating state, date |
| Dominant sound character | Whine, buzz, chatter, drumming, hiss |
| Physical observations | Panel vibration, pipe movement, hot spots, loose fittings |
| Maintenance impact | Easier access, worse access, no change |
| Performance impact | Any noticeable effect on response, temperature or throughput |
The best verification sheets are boring. Same points, same method, same load, every time.
Use recordings carefully
Audio recordings can help with comparison, especially when several engineers are discussing the same issue. If you're cleaning up diagnostic recordings, the Audacity workflow is useful: capture a Noise Profile from a region containing only noise, then process the full track using that profile. The manual specifies a minimum profile length of 2048 samples or 0.05 s at 44.1 kHz, and advises using the lowest reduction setting that gives acceptable cleanup to avoid artefacts, as described in the Audacity noise reduction manual.
That's useful for analysis. It is not a substitute for workplace measurement. Cleaned audio can support diagnosis, but compliance and engineering decisions still need real on-site readings.
Your Next Steps to a Quieter System
Hydraulic noise reduction techniques work best when you treat them as an engineering process, not a shopping list. Start with the sound itself. Identify whether you're dealing with airborne radiation, structural vibration, fluid-borne excitation, or a mix of all three. Measure where the operator stands. Then fix the source before you build barriers around it.
The strongest results usually come from ordinary engineering done properly. Better component matching. Better mounting. Better line routing. Better clamp positions. Better enclosure sealing. Better maintenance discipline. None of that is glamorous, but it's what separates a machine that merely passes inspection from one that operators want to work beside.
The same source-first thinking applies outside hydraulics as well. If you work with diagnostic recordings, training media or voice content, a guide to software for pristine podcast audio can be useful for understanding how digital cleanup fits in after a clean capture. The principle is familiar. Prevent noise early, then reduce what remains without damaging the signal you need.
A quieter hydraulic system is usually easier to live with, easier to maintain and easier to defend when someone asks whether the spend was justified. That makes noise control worth doing properly.
For application advice, replacement parts, bespoke power pack support and practical help reducing hydraulic noise at source, contact MA Hydraulics Ltd. Phone 01724 279508 today, or send a message through the contact page.
